Not Subscribed?
A weekly letter for solopreneurs building one-person businesses—using automation, systems, and smart workflows to grow without teams, burnout, or bloat.
Share this article
Most people start blogs for attention.
You’re here to build leverage.
This isn’t for aspiring influencers or journaling hobbyists. It’s for founder-operators, consultants, and solopreneurs building real systems that scale without bloat.
This isn’t a content marketing guide for creators chasing affiliate commissions or Google traffic.
It’s a blueprint for lean operators who want to turn writing into a system. One that drives leads, positions authority, and compounds over time.
I’ve run blogs that ranked #1 for competitive terms, brought in clients, generated passive income, and my own story got picked up by brands like Buffer.
But none of that happened by “just writing.”
The real leverage came from how the blog fit into a broader automation and distribution system.
If you’re starting a blog in 2025, here’s the truth:
- You don’t need to write weekly.
- You don’t need to be on every platform.
- You do need to build the blog as infrastructure (the foundation of your personal operating system).
This guide will show you how.
Why a blog still matters (even in the age of AI and short-form chaos)
Yes, attention has shifted.
People spend more time on TikTok than Google. Email open rates fluctuate. Platforms are unpredictable.
But here’s what hasn’t changed:
You still need a central, ownable platform that compounds.
That’s what a blog gives you. Not just traffic, but leverage.
A modern blog is not just a website. It’s:
- A proof-of-work engine: Every post signals expertise, not opinions.
- A traffic foundation: SEO is slow, but it’s compounding. The only channel that still delivers leverage without recurring effort.
- A trust builder: The right articles make sales calls shorter, close rates higher, and credibility instant.
- A repurposing node: Every blog post becomes newsletter content, X threads, LinkedIn carousels, and YouTube scripts (if built with the right system).
- A monetization gateway: Courses, productized services, templates, affiliate revenue (all connect back to the blog).
It’s the only digital asset you fully control, automate, and scale on your terms.
Forget “start a blog to share your passions.” That’s dead.
Start a blog because it’s the most efficient way to build a scalable digital business.
Plan your blog like a system, not a diary
Most people start with “what should I write about?”
Wrong question.
If you want your blog to drive leads, revenue, or authority, you need to treat it like a system with inputs and outputs.
Not a content journal.
Your blog needs a positioning layer
Forget starting with your passions.
Instead, use this 3-part positioning filter:
|
Filter |
What to ask |
|---|---|
|
Market demand |
What are people actively searching, asking, or paying for? |
|
Execution skill |
Can you produce systems, results, or insights others can’t? |
|
Automation potential |
Can this niche be enhanced or delivered via AI, no-code, or tooling? |
If a topic fails any one of those filters, it’s a poor foundation for scalable blogging.
Example: “Automation blueprints for solopreneurs” beats “my thoughts on working remotely” because one solves a problem and feeds a monetizable system, the other is just opinion.
Focus your blog around outcome-based categories
Random niches don’t scale. Outcome-based silos do.
Here’s the exact structure I use:
- Automation: AI, Make.com, scraping, workflows
- Systems: SOPs, internal ops, Notion builds
- Offers: Productized services, monetization, digital assets
- Distribution: SEO, newsletter loops, content repurposing
- Strategy: Mental models, frameworks, decision logic
Plan every post to fit one category.
This is how you avoid topic bloat and build topical authority, which is what Google and readers both trust.
Choose a niche you can compound
When deciding what to publish first, ask:
- Do I already have systems or experience here?
- Can I rank and build authority in this space?
- Does this lead into a product, service, or offer?
That’s your real niche.
Not the one you’re excited about this week, or what has the highest search volume on keyword research tools.
The one that connects skill → demand → leverage.
Choose the right platform and stack (without bloated decisions)
Most people obsess over the wrong blog decisions.
They compare Medium vs. Wix. They tweak fonts. They waste 10 hours picking plugins.
And then never publish a single post.
If your blog is meant to build digital leverage, the only thing that matters is this:
Will this stack let me control, scale, and automate content in my system?
If not, skip it.
The only real choice: WordPress.org
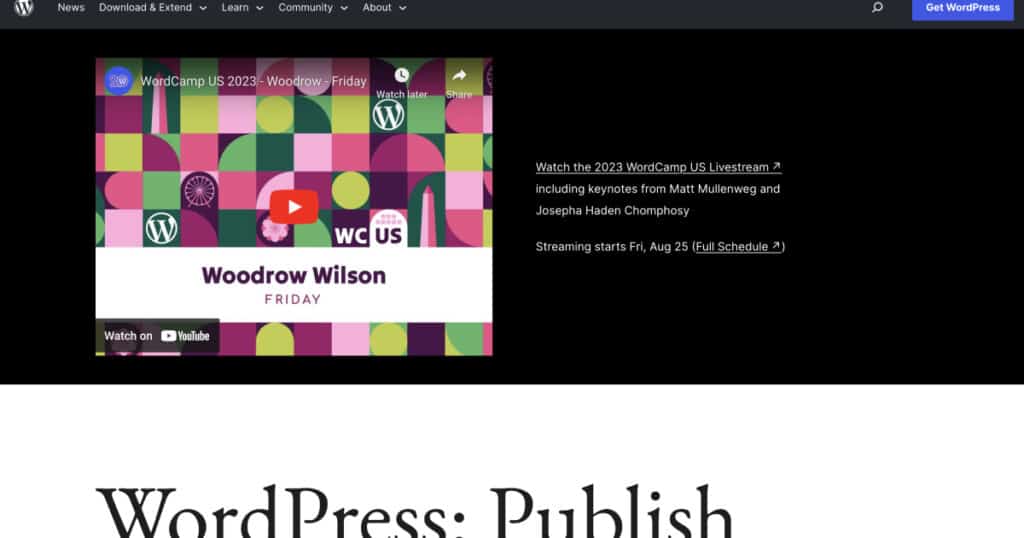
WordPress.org is the only platform that gives you:
- Full control over structure, content, SEO, and monetization
- Tight integration with Make, Zapier, n8n, and every tool that matters
- Scalability — from MVP to full systemized info product or agency backend
- Leverage potential — it’s infrastructure, not just a CMS
Use it with a fast theme (Kadence or GeneratePress), fast hosting (WPX or Cloudways), and minimal plugins.
No bloat. Just power.
Note: I’m referring to the open-source .org version, not the .com version.
When to consider Ghost
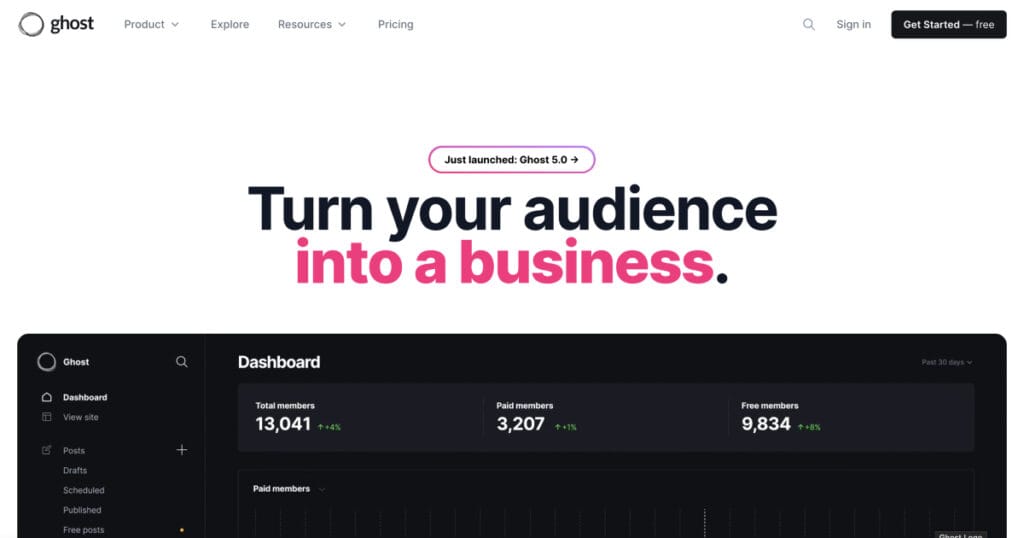
Use Ghost only if:
- You’re writing essays, not building a full business system
- You want built-in paid subscriptions
- You don’t care about complex SEO, product funnels, or automation
It’s elegant. But it caps your leverage.
What to avoid (always)
|
Platform |
Why it fails |
|---|---|
|
Medium / Substack |
You don’t own it. You can’t scale it. You can’t automate it. |
|
Wix / Squarespace / Webflow |
Design-first platforms that break as soon as you want logic, SEO, or workflows. |
|
Blogger |
Obsolete. Dead. Move on. |
The stack I use (and why)
|
Tool |
Role |
|---|---|
|
WordPress.org |
Core CMS — own your site, structure your silos, automate distribution |
|
Fast, reliable managed hosting with elite support |
|
|
Lightweight, customizable, no bloat |
|
|
SEO structure without the Yoast bloat |
|
|
Page speed and caching handled |
|
|
Clean affiliate tracking and redirect control |
|
|
Image optimization |
|
|
Automate your publishing workflows and connect everything |
|
|
Just buy your domain. Clean UI. Cheap renewals. Done. |
You don’t need 30 plugins.
You need a blog that ships, ranks, and feeds your system.
Don’t customize. Systemize.
Every minute spent tweaking your homepage layout is time stolen from publishing, distributing, and compounding results.
Get it live. Plug it into your distribution engine.
Then let your systems do the rest.
Structure your blog like a system, not a timeline
Most blogs look like content dumps sorted by date. That’s fine if you’re journaling.
But if you’re building a blog to attract leads, compound authority, and support automation, you need structure.
Treat your blog like a content system. Not a timeline.
Step 1: Use outcome-based categories
Every post must fit into one clear silo. No exceptions.
Here’s the exact system I use:
- Automation: Workflows, AI tools, no-code stacks, web scraping
- Systems: Internal infrastructure, SOPs, productivity scaffolds
- Offers: Productized services, monetization, delivery logic
- Distribution: SEO, repurposing, newsletter loops, outbound
- Strategy: Mental models, decision trees, founder frameworks
This gives you focused publishing, zero overlap, and strong topical authority for SEO.
Each silo should have one long-form pillar post, five to ten supporting cluster posts, and tight internal linking between all related articles.
If a draft doesn’t fit into a silo, it’s probably not worth publishing.
Step 2: Build a homepage that routes attention
Your homepage isn’t a blog roll. It’s a decision layer.
Visitors should immediately understand three things:
- Who you are
- What you help them achieve
- Where they should go next
Use this layout:
- Hero section: One-liner positioning statement and CTA
- Proof section: Featured in logos or client credibility
- Who it’s for: A sentence on your target reader
- Latest or featured posts: Ideally your top silo content
- Final CTA: Email opt-in, product page, or service offer
Keep it simple. Remove anything that doesn’t guide action.
Step 3: Create only the pages that compound
Most static pages are useless. These are the ones that matter:
- About: Build credibility and trust. Link to high-leverage content.
- Contact: Let people hire you, feature you, or collaborate.
- Newsletter: Landing page for your email funnel.
- Tools or Stack (optional): Recommend your systems and get affiliate commissions.
- Legal pages: Privacy policy and terms for compliance and professionalism
No “journal,” no “archives,” no bloated resource page unless it’s strategic. Publish with purpose.
Step 4: Use internal linking as content infrastructure
Internal links are how you compound authority and keep readers moving.
Every article should link up to its pillar, link sideways to its sibling posts, and link out to tools, lead magnets, or services when relevant.
This turns your blog from a pile of posts into an interconnected system.
Plan your first posts like systems, not topics
If you want your blog to drive results, don’t start with random ideas or whatever feels inspiring this week.
Build it as a system from day one. That means thinking in outcomes, not topics.
Begin by choosing a handful of categories that make sense for your business or your expertise.
They could be based on what you sell, the problems you solve, or the skills you want to be known for.
For example: marketing strategy, client stories, tutorials, tools, or industry trends.
Pick categories that will be relevant for years, not just for trends.
Each category should be anchored by a substantial post — a “pillar” article. This is where you teach something with depth: a comprehensive guide, a step-by-step system, or a unique perspective on a problem your audience cares about.
Pillar posts become reference points you’ll link back to again and again.
After you outline your pillars, plan a handful of supporting articles for each one.
These supporting posts should zoom in on common questions, show practical examples, or break down key steps from your main guide.
For example:
- If you’re a designer, your pillar might be “How to launch a high-converting portfolio website.” Supporting posts could be “Best free portfolio themes,” “How to write your About page,” or “Getting clients from your blog.”
- If you’re a coach, your pillar might be “The system I use to get inbound coaching leads.” Supporting posts might be “Creating your first lead magnet,” “Using email to nurture blog visitors,” or “Automating your call bookings.”
The key is that every article fits into your structure and leads somewhere: to an offer, an opt-in, a service, or a clear next step.
Before publishing, map out your plan.
Track your categories, post ideas, links between articles, and the main action you want each reader to take.
Don’t write blog posts as one-offs.
Build your content so it compounds in your niche, for your expertise.
Launch your blog with leverage, not perfection
Don’t wait until everything is perfect.
Launch as soon as you have the basics in place:
- One strong pillar post for each category
- A clean homepage and clear navigation
- About, contact, and legal pages
Your first version will never be flawless. That’s normal.
You learn and improve faster by publishing in public.
Treat your launch like a system.
Set a deadline. Ship what’s ready. Plan your next upgrades.
After launch, focus on what compounds:
- Add internal links between posts
- Update and expand pillar content as you learn
- Use automation tools to repurpose posts into your newsletter or social feeds
Ignore pixel-level details and color tweaks at the start.
No one cares how your theme looks if your writing solves a real problem.
The sooner your site is live, the sooner you build authority, gather feedback, and let your content compound.
Launch fast. Improve as you go. That’s leverage.
Keep compounding — what to do after launch
Getting your blog live is just the beginning.
The goal isn’t to publish once and hope for results.
It’s to build momentum and make every new action multiply your results.
After launch, focus on these high-leverage moves:
- Update your pillar posts as you gain new insights or results.
- Add internal links every time you publish a new article.
- Repurpose content into newsletters, LinkedIn posts, or short videos.
- Use automation tools to save time and push your content further.
- Track your analytics to see what’s working and what needs work.
- Gather feedback from readers and adapt your topics or structure if needed.
Don’t chase trends or try to publish daily.
Aim for depth, clarity, and consistency.
Your blog is a living system.
Every post, update, and workflow you add increases its value and reach.
Over time, small improvements will stack up. Driving more authority, more leads, and more opportunities with less effort.
Stay consistent. Keep compounding. Let your systems work for you.
Take the next step
You’ve launched your blog. You’ve set up your first systems.
Now, don’t let momentum fade.
If you want more frameworks, automation walkthroughs, and behind-the-scenes examples, join my newsletter.
Every issue breaks down the real systems I use to grow, monetize, and automate my own business.
- Get practical strategies you won’t find on Google
- See how I build, test, and optimize new workflows
- Stay ahead of the curve with tools, templates, and case studies
Subscribe now and start compounding results — not just writing posts.
Questions or stuck on something?
Reply to any newsletter issue or connect via my contact page. I read every message.
Start building leverage, not just content.
Let your blog work for you.
Share this article

About the author
Hi, I’m Brendan Aw. A creator, GTM engineer, and digital entrepreneur obsessed with building lean businesses from home. Professionally, I’ve led marketing for 7–8 figure startups in e-commerce, fintech, e-sports, retail, agencies and Web3. I hold a B.Com in Accounting & Finance from UNSW and a Data Science certification from Le Wagon. Now, I document my entrepreneurship journey online for myself and others.
Here are more resources for you:
- Read Baw Notes: My weekly letter for those building lean, or one-person businesses using systems, automation, and digital leverage.
- Read my blog: Explore tactical guides on automation, systems, monetization, growth, and solo strategy.
- Use my online business tool stack: Discover the exact tools I use to run my businesses.
Not Subscribed?
A weekly letter for those building lean and one-person digital-first businesses.